
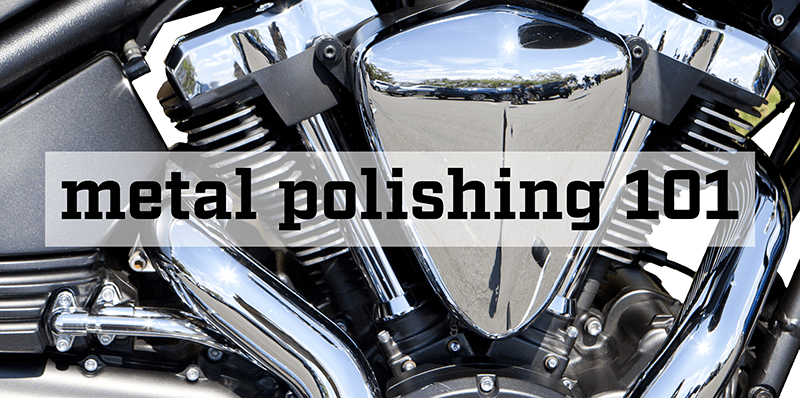
There’s no finish like a mirror finish. But what’s the best way to take those old valve covers from scuffed up to super shiny? If you want to get into polishing metal, you need a little know-how and the right tools and supplies. At KMS Tools and Equipment, we’ve got both.
Shop metal polishing supplies now. Or keep reading to learn more. This post covers the basics of polishing metal, including aluminum, steel and stainless steel. Keep reading to learn more about the following:
- Metal Polishing Terms
- Prep Work
- Polishing and Buffing Wheels
- Applying Polishing Compound
- Polishing Techniques
- Polishing Machines
- Buffing Compounds
Here’s the best part of polishing metal: When you do it properly, the results will surely impress.
Metal Polishing Terms
Metal polishing comes with its own glossary. Here are a few important terms to know when getting started:
buffing—another term for polishing. Sometimes buffing can refer to the final, high-gloss stage, but, in this post, we use buffing and polishing interchangeably.
buffing wheel—the polishing wheel. Also known as a buff. It spins pretty fast, so be careful.
colouring—the process of shining and buffing the workpiece to bring out its natural luster or create a bright, mirror-like finish.
compound—a combination of abrasive and grease that, when used correctly with the right wheel, produces a specific finish. Also known as rouge or jeweller’s rouge.
cutting—the process of cleaning, smoothing and polishing the workpiece to remove scratches, streaks and other imperfections.
Prep Work
With raw extruded or cast metals such as aluminum and stainless steel, sanding can be a key first step towards achieving a mirror-like finish. If you’re working with relatively smooth metal, you probably won’t need to sand. Remember, sanding will never make it shinier, but it can save you time and make the surface flatter.
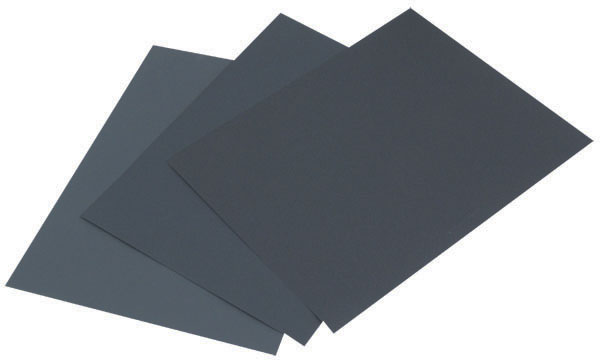
Wet Sanding
For hand sanding flat surfaces, wet sandpaper can be effective. Assess the casting lines or scratches and determine the grit of sandpaper to start with. Generally if you can feel the scratch lines, use a 320 grit sandpaper. Make good use of your time: Start with a coarser grit and from there work your way up to 1,500-2,000 grit in 200-grit increments. This will drastically reduce your polishing time and produce a finish that’ll please the pickiest of people. You can find wet sandpaper in a variety of grits here. Try to keep your paper wet to avoid clogs. This is especially important when polishing aluminum.
Sanding with a Die Grinder
Another option for surface prep—one with a little more zing than wet sanding—is a die grinder. Because die grinders work with a variety sanding attachments such as roll-on surface prep discs, mounted flap wheels, sanding discs and more, you can find the abrasiveness and shape you need to fit your workpiece.
You can also use your die grinder for polishing, especially for curved surfaces, like intake manifolds. We have a great selection of shaped buffs, mini polishing wheels and mandrels, as well as polishing kits with everything you need, including polishing compound.
Polishing and Buffing Wheels
Choosing the correct buff is an important step in achieving your desired outcome. For steel and stainless steel, start with a full-sewn or spiral-sewn wheel and an aggressive cutting compound, such as a grey cutting compound. This will quickly diminish light scratches and surface imperfections.
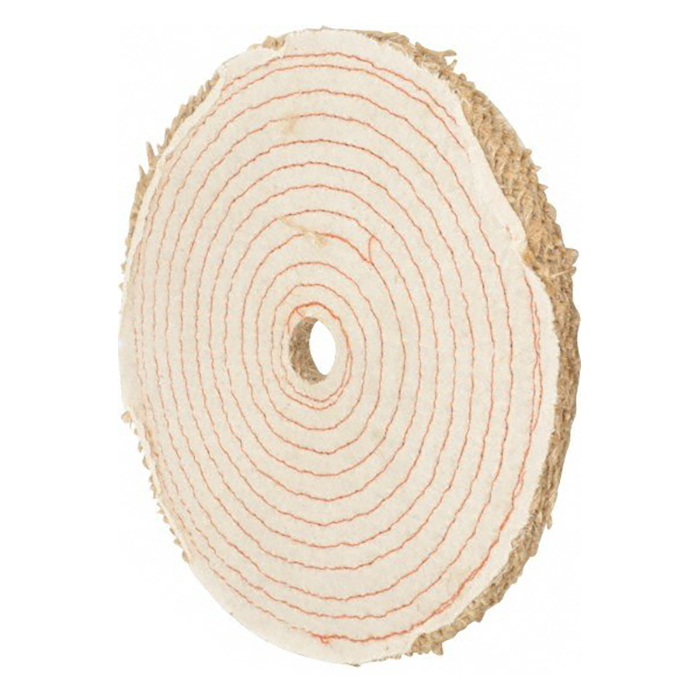
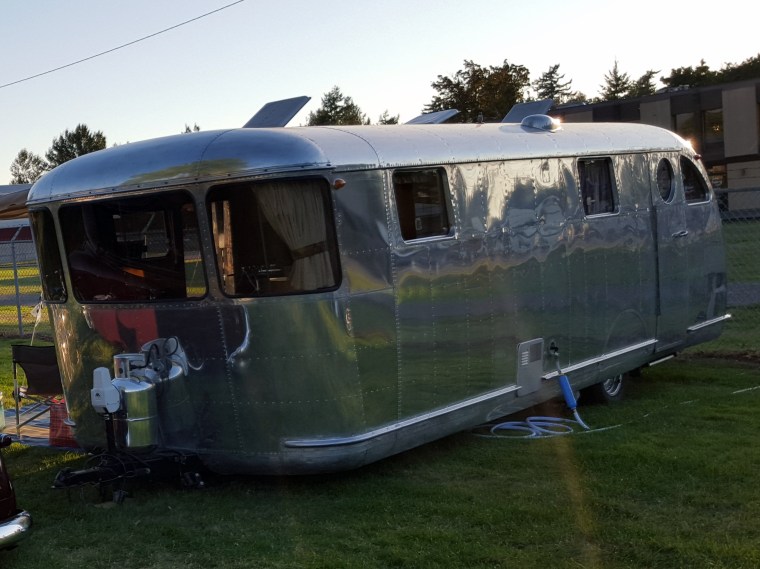
Sisal wheels are also a good option for aggressive cutting. Use a sisal wheel with emery compound to remove scratches, pitting and corrosion. For example, this trailer sat near the ocean for over half a century. Today it has a show-worthy shine, thanks to a sisal wheel and a bit of hard work.
For both ferrous and non-ferrous metals, you can continue light cutting and shining with a cushion-sewn wheel and a white compound. This combination will produce a near mirror finish and will suffice for most applications, especially stainless steel, aluminum, copper and brass. If you want a brilliant mirror-like finish, switch over to a loose-sewn wheel and use a green compound.
Applying Polishing Compound
With the buffing wheel turning toward you, gently press the compound against the bottom of the wheel. Try not to overload the wheel—unless you want compound flying around your shop. If you overdo it, remove excess compound with a buffing rake. It’s a useful tool for removing metal or other debris that can accumulate on the wheel. It’s not a bad idea to clean your wheel with a buffing rake before applying more compound.
Polishing Techniques: How to Buff with the Best
After your wheel is evenly coated with compound, you are ready to start buffing. Here are a few tips to help you achieve stunning results:
- Hold your workpiece firmly and move it across the edge of the wheel in a downward angle.
- Keep the workpiece in constant motion and contact the buffing wheel below its centre.
- Don’t apply too much pressure! Instead, let the wheel and compound do the work.
- As you buff, the compound will wear off, so you’ll need to reapply.
- When you’re finished, seal your handiwork with a coat of wax or metal lacquer.
- Practice, practice, practice and you’ll be buffing with the best in no time.
Remember to avoid using different compounds on the same buffing wheel. If you use the same wheel for cutting and colouring, residue from the coarser cutting compound can create streaks and scratches when colouring. Label your buffs and stay organized. Your future self will thank you.
Polishing Machines
There are many affordable buffing machines on the market that are ideal for hobbyists and professionals who occasionally need to polish metal. If you are polishing smaller hand-held pieces, our Magnum benchtop polishers—available in 6 inch and 8 inch versions—are great for polishing automotive parts made of aluminum and stainless steel. These Magnum machines are also adept at polishing other metals, like brass, bronze, silver and gold.
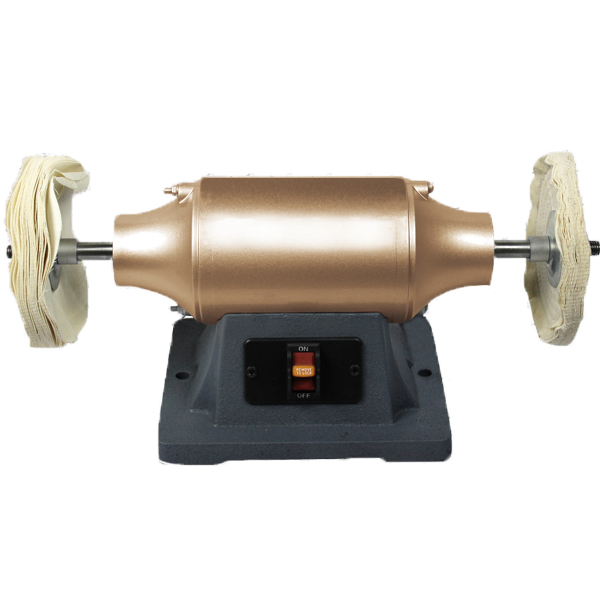
When it comes to choosing a buffing machine, consider both the torque and speed. Trying to achieve mirror-like finish with a machine that either spins too slow or lacks torque can be frustrating and discouraging. The Magnum 6” or 8” benchtop polishing machines spin at 3,450 rpm. If you’re using a smaller wheel, the rpm will increase. A wheel that’s spinning too fast can leave heat marks on the metal.
Handheld Polishers
If you need mobility beyond the bench, we sell portable electric polishers—including cordless models. Handheld polishers are popular for polishing aluminum trailers and trucks. This Makita is one of our best-sellers.

Or if you want to polish hard-to-reach areas like mag wheels and grilles, you can attach a mandrel and buffing wheel to your electric drill or pneumatic die grinder. We have a great selection of small buffs and polishing kits that include a selection of buffs and compounds so you can get started using your electric drill.
Buffing Compounds
As mentioned earlier, start with a cutting compound and a spiral-sewn wheel. If you’re working with ferrous metal, a grey compound will help remove scratches, rust and burrs. For non-ferrous applications, try a brown compound. It will take off surface marks on softer metals like aluminum and brass.

White compound SS51 is suitable for colouring ferrous and non-ferrous metals. It can create a mirror finish on stainless and also restore a natural luster to non-ferrous metals.
Green compound is well suited to final finish work on ferrous and non-ferrous metal and, with a loose-sewn buffing wheel, can produce good colour and a glossy finish.
If you are polishing plastic, choose a blue compound and pair it with a loose-sewn buffing wheel. Be gentle on plastic. Too much pressure and friction can create excess heat, which can warp or streak plastic.
Learn More
If you want to learn more about polishing metal, get in touch with a member of our sales staff at a KMS Tools location near you. We’d love to share what we know about polishing and get you started right—with the polishing machine, buffing wheels and polishing compounds you need to make your next project shine.
